Production planning / Beginner-friendly guide
How to plan an event video that tells a story
A practical shot list, clearer audio, and a smarter delivery plan. Give your next event film a purpose before the cameras roll.
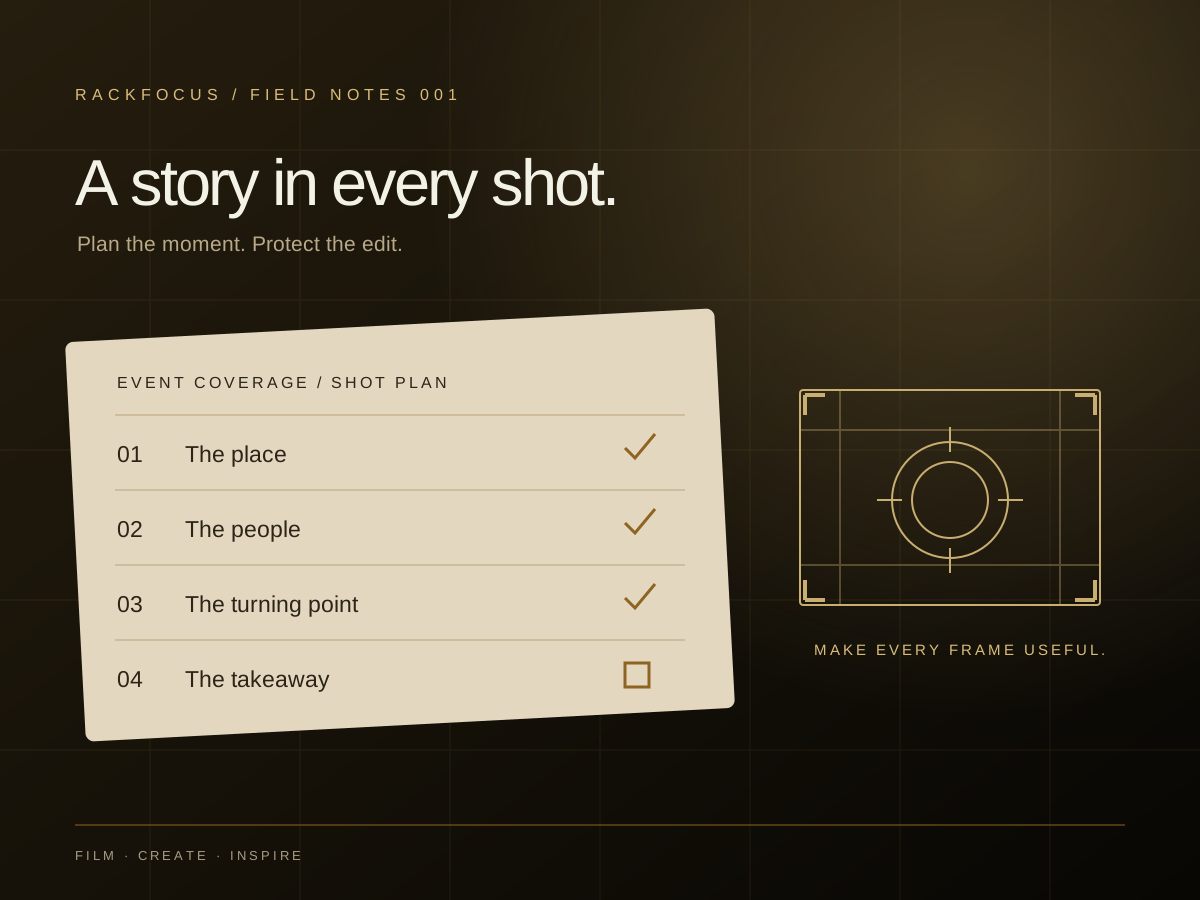
A room full of people gives you plenty to film. It does not automatically give you a story. A useful event video needs a clear purpose, a few moments that carry that purpose, and enough supporting coverage to connect them in the edit.
Before choosing a lens or building a music playlist, decide what the viewer should understand or do afterward. This guide walks through a workable plan for a conference, brand gathering, or company event, whether you are organizing the production or filming it.
Write one outcome. Protect the moments that cannot happen twice. Capture usable speech. Build small sequences. Agree on delivery formats before the event. Check your media before anyone clears a card.
1. Give the video one primary job
“Capture the event” is an activity, not a brief. A recruitment film, a sponsor recap, and next year’s ticket announcement may share footage, but each needs different evidence.
Try this sentence: After watching, [audience] should understand [one idea] and take [one action]. For example: “After watching, prospective attendees should understand how useful the workshops are and join the next event’s interest list.” That is a hypothetical brief, not a client result.
- For registration: show what people learn, who they meet, and why the experience matters.
- For sponsors: identify the agreed activations, signage, interactions, and deliverable approvals.
- For internal culture: prioritize specific employee voices, collaboration, and the people doing the work.
If all three matter, name the primary film and define separate cutdowns. Trying to satisfy every audience with one short edit often leads to a generic montage.
2. Build a shot list around moments
A shot list connects a creative intention to practical coverage: location, framing, movement, and audio needs. Adobe’s shot-list guide explains those production fields. For an event, add the scheduled time, an access contact, and a priority.
Separate must-have moments from optional texture. A keynote announcement happens once; a close-up of an empty registration desk can usually wait. Ask the organizer which moments will overlap. If one camera cannot cover both, resolve that tradeoff before the doors open.
| Moment | Coverage | Why it matters |
|---|---|---|
| Before doors | Exterior, room wide, signage, details | Establish the place while access is clear. |
| Arrival | Welcome, check-in, greetings, first reactions | Introduce people and anticipation. |
| Key session | Speaker, audience response, relevant slide | Support a specific takeaway with words and reactions. |
| Workshop or activation | Wide context, medium interaction, close detail | Show an activity as an editable sequence. |
| Interview window | Short attendee or organizer conversation | Explain value in a human voice. |
| Closing | Final moment, departures, closing statement | Give the film an ending and next step. |
A practical row might read: 10:00 / keynote announcement / must-have / stable speaker frame + audience response / house audio feed / stage manager confirms cue. Keep the list short enough to scan while working.
3. Plan the audio before the room fills
A beautiful image cannot explain a missing sentence. If speech matters, speak with the venue’s audio technician in advance. Confirm what feed is available, where the recorder can sit, and when you can test it. A connector that fits is not proof that the signal level is appropriate for your input.
- Use the recorder and microphone manuals to confirm input type, power requirements, and gain setup.
- Listen on headphones during a real speaking-level test. Check for distortion, hum, wireless interference, and one-sided routing.
- Record and play back a short test. Meters alone cannot tell you whether the intended source is present.
- When practical, record an independent backup. Two recordings of the same faulty feed share the same weakness.
- Capture useful room sound: applause, conversation texture, and a quiet sample of the interview location.
For interviews, choose a quieter corner before adding microphones. Keep the mic close enough for clear speech, check clothing contact, and ask the speaker to move naturally during the test. Avoid placing the interview directly beside a loudspeaker or a busy service station simply because the background looks attractive.
4. Shoot sequences the editor can use
Instead of collecting unrelated attractive frames, finish a small visual idea. At a demonstration, capture the room, the person explaining, the hands using the product, and an attendee’s response. These shots give the editor options to explain the action.
That is the practical role of B-roll: supporting the main story, establishing context, and providing useful cutaways. Adobe’s B-roll overview is a useful introduction. The goal here is coverage with a purpose, rather than footage collected to fill a timeline.
Give each shot room to breathe
Settle the frame before the important action, and keep recording briefly afterward. Avoid immediately stopping when someone finishes a sentence or a gesture. Extra handles give the editor choices for pacing, transitions, and clean cuts. The right duration depends on the action; there is no universal number that makes every shot usable.
Protect consistency
Check exposure and white balance as you move between rooms. A window-lit lobby and a stage under colored fixtures are different environments. Use your camera’s monitoring tools, review the result, and avoid changing a working setup mid-moment without a reason. Test LED screens and fixtures for flicker at the actual recording settings before a critical session.
Choose the lens for the position you can safely occupy and the frame you need. A tighter lens may help from the back of a room, while a wider view can establish the space. Neither choice replaces access planning. Keep aisles, exits, audience views, and the venue’s rules in mind.
5. Ask for specific interview answers
“How was the event?” often gets “Great.” Ask for a concrete experience instead:
- “What is one idea you will use when you get back to work?”
- “What happened today that you could not get from watching a recording?”
- “Which conversation changed how you think about the topic?”
Explain where the interview may appear and follow the organizer’s agreed consent process. Give the person a moment to think. Ask a follow-up when an answer needs context, and let them finish before speaking. Do not coach praise or turn an uncertain comment into a stronger claim in the edit.
6. Decide the deliverables while you can still film them
A horizontal recap, a vertical announcement, and a full-length session recording are different deliverables. Agree on the list before production, including:
- Audience, platform, aspect ratio, approximate length, and desired next action.
- Whether captions, a transcript, clean versions, or separate language versions are needed.
- Who supplies approved names, titles, logos, music permissions, and final copy.
- Who gives consolidated feedback, how revisions work, and the actual deadline.
- Whether full sessions need uninterrupted coverage and separate audio.
If vertical clips matter, compose with that use in mind and capture dedicated vertical coverage where practical. Cropping a wide group shot later may remove the people or context that made it work. Leave intentional room for titles and platform interface elements, then check the current destination’s specifications before export.
In postproduction, assemble the story first. Check names and factual statements, refine speech and music balance, match shots for exposure and color, and then apply the creative grade. Review captions and each exported version on its intended type of screen. A readable desktop title may be tiny on a phone.
7. End the day with a deliberate handoff
Before leaving, compare the must-have list with what you actually captured. Note missed moments honestly, identify strong interview answers, and label cameras and audio sources clearly. Those notes help the editor find the material that supports the brief.
Make verified copies of camera and audio media to separate storage before reusing cards. Check the copy process, file counts and sizes, and sample playback; a folder name alone does not prove a complete transfer. Use checksum verification where your copy software supports it. Keep the originals until the agreed backup and retention conditions are satisfied.
Include the audience, primary outcome, key moments, access contacts, interview priorities, audio plan, deliverable list, review owner, and deadline. It is a small document that can prevent a large amount of confusion.
The strongest event plan leaves room for real moments while protecting the essentials. You should know what must be captured, why it belongs in the film, and how the finished assets will be used.
Sources & editorial notes
Original planning guidance by RackFocus Cinema. Technical references checked October 15, 2026: Adobe, How to make a shot list and What is B-roll footage? The sample brief and shot plan are illustrative. Equipment settings and platform delivery specifications should be checked against the relevant current manuals and destination requirements.