Cameras & lenses / Practical planning guide
How to choose a lens for a small-room interview
Start with the frame and the room. A practical lens-selection process for producers and crews preparing an interview in a compact office.
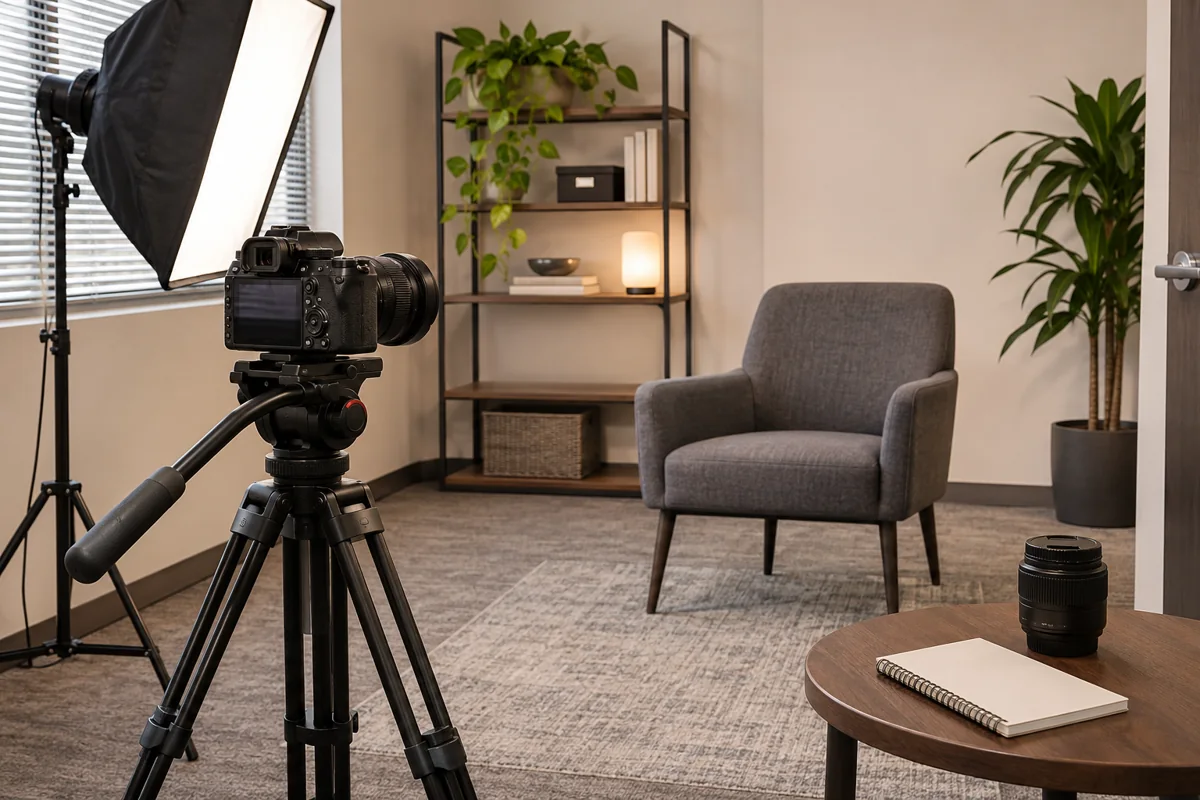
The right interview lens is one that lets you make the intended frame in the room you actually have. A popular focal length can be a poor fit if the camera ends up against a wall, the interviewer blocks a doorway or the background reveals information that should stay private.
Before buying or renting, test the relationship between the chair, camera, background and recording format. This guide gives producers and small crews a practical selection process. It does not recommend a universal lens, quote a package or describe an actual client shoot.
Describe the frame before choosing the lens
Start with the edit. Do you need a head-and-shoulders interview, a wider frame showing hands, or a person speaking within their workplace? Decide whether the speaker looks toward an interviewer or directly into the lens. Share a visual reference and explain which part matters: framing, background context or space for a title.
List the planned outputs. If a landscape interview also needs a portrait version, ask the editor how that version will be composed. Test the actual crop on a sample frame. Do not assume that a tightly framed landscape image will accommodate every later layout.
Confirm whether this is a single-camera interview or a two-camera setup. For two angles, sketch both camera positions and the interviewer's eyeline before selecting lenses. A second camera needs usable space and an intentional view; adding it should serve the edit rather than simply fill the room.
Place the chair, interviewer and camera in the room
Scout with the production's practical constraints in mind. Identify a quiet area, an acceptable background, power access and a clear route through the space. Ask the location contact what furniture can move and which work areas or displays must remain out of frame. Keep access routes clear while evaluating the setup.
Place the interview chair and mark a possible camera position. Allow room for the interviewer, lighting and sound equipment. Check the background from camera height rather than judging it while standing by the doorway. A room photograph is useful for planning, but a test at the intended camera position is more informative.
Then try alternative positions. A different orientation may offer a cleaner background or more working distance. If the desired close-up cannot be made comfortably, reconsider the room or framing before committing to a lens. The small-office interview lighting guide covers the related decisions about room choice and shaping the light.
Compare angle of view on the intended camera
Nikon explains that shorter focal lengths give a wider angle of view, while longer focal lengths narrow it and increase magnification. For your test, keep the camera in one position and compare how much of the person and background each setting includes. Note what enters the edges of the frame, not just whether the face is large enough.
Make the test with the intended camera and recording setup. Sony documents that different sensor sizes produce different angles of view with the same focal length. A lens number from someone else's full-frame setup is therefore incomplete guidance for another camera. Confirm the sensor format, recording mode and any active crop in the actual equipment's documentation.
Changing the camera position to restore the same framing is a separate creative decision. Sony's examples show different background relationships when the subject is kept the same size using wide, standard and telephoto views. Compare a comfortable working position and the resulting image together. Avoid choosing from a focal-length label without seeing the composition.
Choose a lens you can operate reliably
A zoom lets you adjust focal length without changing lenses; a prime has a fixed focal length. Nikon describes that flexibility as a zoom advantage and notes that many primes offer a larger maximum aperture. Neither category guarantees a better interview. Compare the specific options available for the camera and the job.
Ask the operator to test focus with a stand-in who speaks and moves naturally. Check the near and far positions the person is likely to occupy. Review the recorded result rather than relying only on a small camera display. Choose settings that support a usable take when the speaker leans or turns; a reference image with a very blurred background is not an operating plan.
Check the complete camera-and-lens combination. Confirm the mount, any adapter, support needs, filter arrangement and the focus method you intend to use. If autofocus will be used, test it in the planned composition and light. If focus will be manual, confirm who operates it and how they will judge the image. Do not assume an adapter preserves every function.
Test any zoom adjustment you expect to make during recording. Look and listen for changes that would distract from the interview. If the plan is to set the frame and leave it alone, say so. An equipment test should reflect the way the operator will actually work.
A fictional compact-office lens decision
Imagine a producer planning one seated interview in a small office, with a landscape film and a portrait extract. The crew can test a compatible zoom before confirming the final package. The following is a decision checklist, not a measured comparison, lens review or actual client example.
| Test | Question to resolve | Possible planning response |
|---|---|---|
| Wider frame from the available camera position | Does it include distracting or restricted background material? | Change the room orientation or simplify the background |
| Tighter frame from the same position | Are hands or gestures required by the edit now excluded? | Agree the framing priority with the producer |
| Alternate camera position | Can the interviewer and equipment still work comfortably? | Revise the layout before selecting the final lens |
| Portrait crop of a recorded sample | Does the intended crop retain the speaker and required graphics space? | Adjust the capture framing or plan a separate version |
The crew records the accepted camera position, lens setting and a reference frame. The producer confirms which outputs the composition supports. If a fixed lens is preferred afterward, the team verifies that exact lens on the camera rather than treating a zoom test as proof of every handling characteristic.
Record a complete test, including sound
Have the stand-in answer a short question, gesture and pause as a real speaker might. Review the beginning and end of the clip, focus, frame edges and background. Ask the editor to confirm the recording opens correctly and suits the intended outputs. Keep a dated reference with the approved production brief.
Include sound in that test. A workable camera position still needs a workable microphone position and a quiet enough environment. Ask the sound operator to check their actual arrangement, and include any equipment that might appear in the frame. Review lighting and visible screens too; the LED flicker testing guide explains why a recorded check matters.
If cameras use different recording profiles, provide the notes the editor needs. The mixed-camera color preparation guide covers source identification and a sample handoff. A useful lens test belongs inside that broader production test.
Send the crew the problem you need solved
For an interview inquiry, share the room's availability, permitted photographs or dimensions, intended framing, number of speakers, interviewer arrangement and planned outputs. Explain what is confirmed and what still needs a scout. Ask for an appropriate camera-and-lens plan based on those constraints.
The agency camera-crew brief helps organize that information. Contact RackFocus Cinema to discuss your interview production with the filming date, location status and intended film. The next step is to establish a practical scope and testing plan.
Sources and limits
Primary sources inspected November 6, 2026. The room-testing process and fictional example are editorial recommendations. No physical lens comparison was performed for this article. Confirm compatibility, recording-mode crops and operating behavior for the exact equipment you will use.
- Nikon: Understanding Focal Length — angle of view, magnification and prime/zoom distinctions.
- Sony: Lens basics — sensor-size effects on angle of view and example background relationships at different focal lengths.