Editing & color grading / Practical workflow guide
How to prepare mixed-camera footage for color grading
Identify the sources, agree the color workflow and test a small handoff before sending the full edit. A practical guide for producers and editors.
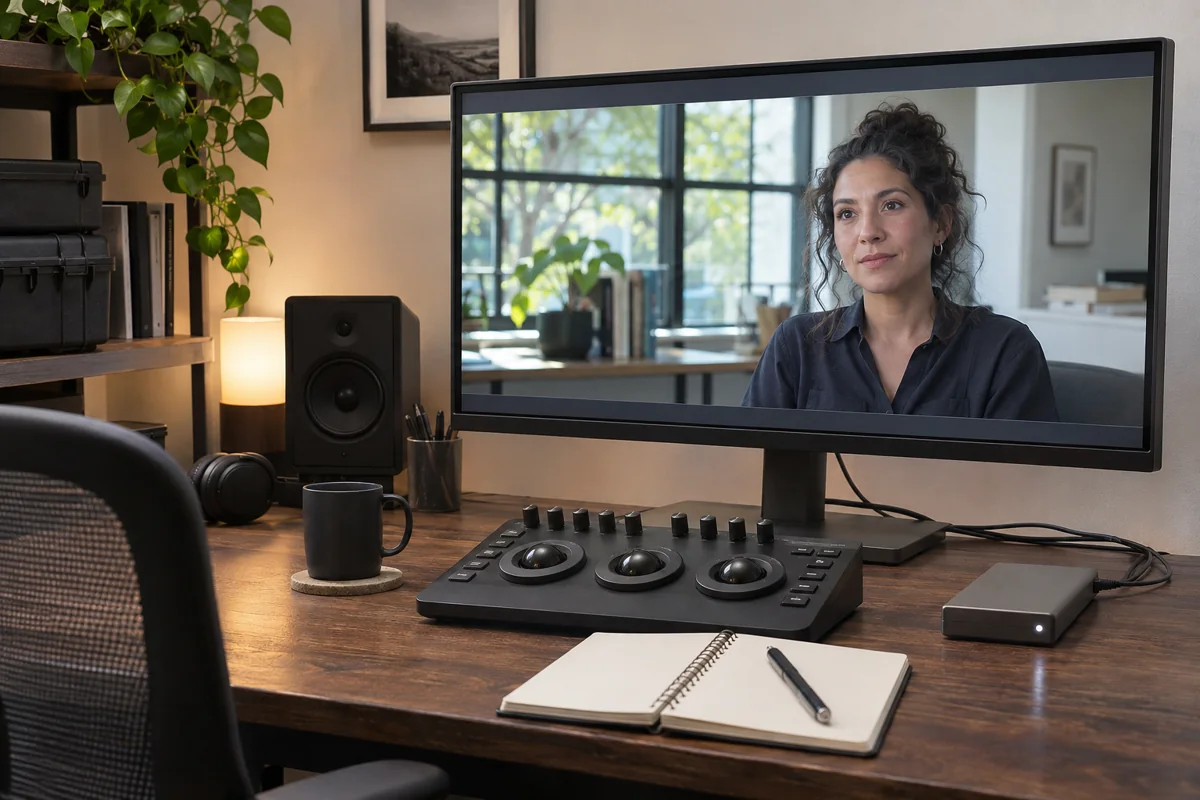
Two cameras can cover the same interview and still arrive in the edit looking very different. Before asking a colorist to match them, establish what each file contains, how the editing project interprets it and what the finished program needs to be. A clear handoff makes those decisions visible while they are still easy to test.
This guide is for producers and editors preparing mixed-camera footage for grading. It offers a practical preparation process, rather than a universal LUT or a promise that every source will match. The example is fictional. Software settings and delivery requirements should be confirmed for the actual project.
Start with the delivery, then choose the workflow
Ask who will receive the finished film and what specification they require. Record the intended viewing destination, resolution, frame rate and required color space. If the project needs both SDR and HDR versions, name both deliverables before grading starts. A vague instruction such as “make it suitable for the web” leaves an important decision open.
Separate three questions: how each source is identified, where image adjustments are processed and how the result is output. Adobe's Premiere overview distinguishes the working color space used for processing from the output space used for monitoring and delivery. Those are project decisions to document, rather than settings to change casually while trying to improve one shot.
Ask the editor and colorist to agree the application versions, project settings and intended handoff method. A project staying in one application may need a different exchange plan from an edit moving to another grading system. Write down who owns the technical setup and who approves the creative appearance. The video brief and edit-approval guide helps define that decision chain.
Make a source inventory before applying a look
Keep the camera originals intact and build a simple report alongside the edit. For each source group, record the camera, recording format, resolution, frame rate, capture profile and color gamut where known. Include any setting changes during the shoot. Separate phone clips, screen recordings, supplied graphics and archival footage from the main cameras instead of treating the whole bin as one source type.
Use the camera report, operator notes and actual files to resolve uncertainty. If a profile is unknown, label it unknown and ask the person who recorded it. Do not assign a log profile merely because the image looks flat. A filename or camera model alone is not a complete description of the recording settings.
Adobe documents that Premiere needs the correct source color space and that available metadata can be missing or wrong. Its clip controls allow manual identification when necessary. The practical consequence is to verify representative clips from every source group before applying a batch setting. Keep a note of any override so the receiving colorist can understand what changed.
Protect the source material while organizing it. The camera-footage backup guide covers verified copies and card-release decisions. Color preparation should add information and a tested project, with the original recording preserved for the agreed handoff.
Document technical conversions and creative looks separately
Ask what every LUT or color transform is intended to do. Record its name, version, expected input and intended output, plus where it is applied. Keep a creative reference look clearly labeled. A reviewer should be able to tell whether a file is an original, a viewing reference or an intermediate with a conversion already baked in.
In Premiere, Adobe describes how an Input LUT and media-color-space selection interact with automatic conversion into the working space. It also notes that manufacturer LUTs can include additional image processing, so their appearance can differ from the application's stock conversion. “Use the camera LUT” therefore needs a specific file and an agreed purpose.
Before adding another conversion to an image that looks wrong, inspect the existing chain. Check clip interpretation, source effects, timeline effects, adjustment layers and export settings as applicable. Ask whether a supplied intermediate already contains a viewing transform. The goal is an intentional path that both people can explain, not a stack of corrections added until a single monitor looks pleasing.
There is a tradeoff between convenience and flexibility. A rendered reference is easy to view, but it does not communicate all of the underlying decisions. A project handoff can expose those decisions, but it requires compatible media, settings and effects. Agree which materials are authoritative and supply a reference alongside the technical handoff.
Test a small sequence before sending the full film
Build a short representative sequence with material from every camera and other important source type. Include an ordinary shot, a difficult exposure, a visible graphic and any effect that matters to the final image. Use real project material through the approved private transfer; do not expose confidential footage in a public troubleshooting post.
Send the test using the proposed full-project method. Have the recipient reconnect the intended media and report any missing files, interpretation changes, unsupported effects or unexpected framing. Compare the returned result with the agreed reference in the intended viewing setup. Fix the process before repeating it across the entire timeline.
For Premiere delivery, Adobe defines the sequence output color space as the space used for monitoring and rendering. Its documentation recommends matching an external display to that output when using a compatible video-output interface. Ask the colorist how the review image will be monitored, then specify a practical approval route. A casual comparison across unrelated screens is a poor way to settle an unresolved technical setting.
Keep the test's result in writing: accepted source identification, project settings, transfer method, reference filename and unresolved limitations. If the brief changes later, repeat the relevant part of the test. This is a planning recommendation, not a claim that the article's generated hero image represents a calibrated workstation or a measured color result.
A fictional two-camera interview handoff
Imagine an agency combining a main interview camera, a second angle and a supplied screen recording. Camera A's report identifies its log profile and gamut. Camera B was recorded with a display-ready profile. The screen recording's treatment still needs confirmation. These are illustrative source categories, not a prescription for a particular camera.
| Source | Preparation decision | Acceptance check |
|---|---|---|
| Camera A interview | Verify the recorded profile and document the agreed input interpretation | Recipient confirms the sample opens with the intended interpretation |
| Camera B second angle | Keep it identified separately; do not copy Camera A's treatment by default | Check a cut between angles in the test sequence |
| Screen recording | Confirm source treatment and intended graphic appearance with the editor | Check the supplied reference and readable screen content |
| Review export | Name the version and agreed output specification | Producer reviews the actual exported file through the agreed route |
The producer supplies one dated reference and identifies the person authorized to approve the look. The editor sends the test, media notes and any required effect information. The colorist confirms the workflow before the full handoff. If an unknown source remains unresolved, the team records that limitation instead of presenting a guessed setting as established fact.
Package a handoff the recipient can verify
Agree the required materials rather than sending a loosely labeled drive. The package might include the approved edit version, original media or agreed intermediates, reference export, source report, transform notes and instructions for locating the timeline. Ask the colorist what exchange files, handles and linked assets their workflow requires; there is no single package that suits every application and edit.
Identify effects that are essential to the approved composition and ask how they should be handled. Confirm titles, reframing, speed changes and any material replaced after the reference was made. Keep an explicit version trail so an updated shot cannot silently enter an older grade.
Before signing off, check the complete delivered file, including its beginning, ending, graphics and transitions. Confirm that the approved version and requested specification are the ones actually delivered. If you later make short versions, use the interview repurposing guide to plan them as defined outputs with their own review.
Put color preparation in the production brief
For a new shoot, connect capture and post-production early. Ask the receiving editor to review the recording plan and a sample before filming. The agency camera-crew brief includes that technical conversation alongside coverage and access. After capture, begin with the source inventory and unresolved questions rather than requesting a matching look without context.
Contact RackFocus Cinema to discuss your production and post-production handoff. Share the intended film, camera sources, delivery needs and current edit stage so the next conversation can establish responsibilities and preparation.
Sources and limits
Primary documentation inspected November 4, 2026. Technical statements below concern Adobe Premiere's documented behavior. The preparation checklist and fictional example are editorial recommendations, not application testing, a universal camera recipe or a guarantee of matching images. Confirm the current settings in the applications and versions used for your project.
- Adobe: Color Management overview — working and output color-space roles.
- Adobe: Configure clips for Color Management — source identification, metadata limitations and Input LUT behavior.
- Adobe: Configure sequence output color space — monitoring, rendering and external-display guidance.