Filmmaking & event coverage / Practical capture guide
How to plan a timelapse that shows real progress
Choose the change, calculate the images and test the actual sequence. A practical timelapse plan for event setup and other visible transformations.
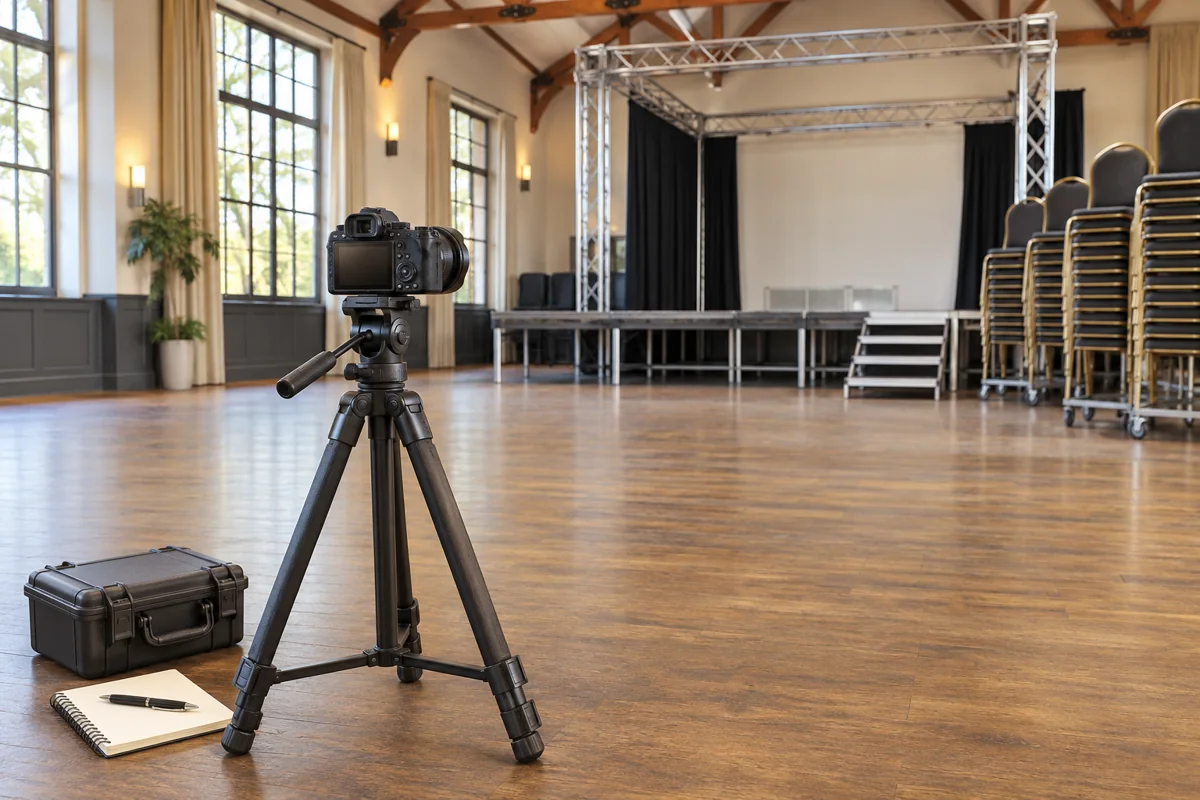
A useful timelapse makes a change easy to understand. It might show an empty event room becoming a working venue, a display taking shape or a process moving through distinct stages. The first planning question is what the viewer should notice between the beginning and the end.
This guide is for producers and small crews planning a progress sequence. It focuses on a still-image interval workflow, with a fictional calculation and a camera-specific documentation example. It is not a tested equipment package, an unattended-installation specification or a promise that one interval suits every activity.
Choose a change that can be seen from one view
Describe the transformation in a sentence. For an event setup, that might be “show how the room moves from empty floor to finished seating and stage.” Then identify the visible milestones. If the important work happens outside the chosen view, a timelapse from that position will not explain it, however long the camera runs.
Ask the editor where the sequence belongs in the finished film and how long it needs to play. Decide whether it is a short transition, the main evidence of progress or a supporting view between interviews. Keep ordinary-speed coverage of details or important one-time actions when the story needs them. A wide progress view does not replace every other shot.
The event shot-list guide can help connect the sequence to the broader film. Write down the required beginning, end and milestones so the operator understands what must remain visible.
Agree a stable, permitted camera position
Scout the view with the location contact and the person responsible for the activity. Confirm where the equipment may stand, when it can be installed and removed, and who can reach it during the recording. Keep access routes clear. A position that looks empty during a scout may later become a loading route or a place where equipment is stacked.
Test the frame at the proposed camera height. Check whether arriving objects, people or opened doors could block the important change. Identify confidential screens, restricted work and people who should not be recorded. Have the responsible organizer confirm the capture boundaries and applicable permissions for the actual production.
For a first plan, consider a stable view with an obvious transformation. Adding camera movement introduces another decision about equipment, travel path and repeatability. Discuss that separately with the crew rather than treating movement as a requirement for every timelapse. A long-running or exposed installation needs its own location and equipment plan; this article does not establish one.
Work backward from the finished duration
For a sequence using one still image per output frame, multiply the intended clip duration by the playback frame rate to find the number of images. For regularly spaced captures, the elapsed time between the first and last exposure starts is (image count − 1) × interval. Start delays, exposure duration and interruptions need separate allowance.
Here is a fictional arithmetic example, not a recommended interval for an actual event:
| Planning item | Example | What it means |
|---|---|---|
| Finished clip | 12 seconds at 25 frames per second | 12 × 25 = 300 images |
| Test interval | One exposure start every 10 seconds | The interval is a trial value, not a universal setting |
| First-to-last start span | 299 × 10 = 2,990 seconds | 49 minutes 50 seconds, before the final exposure finishes |
| Actual schedule | Confirm setup, start delay, activity and removal windows | The camera appointment needs more time than the calculated span |
If the activity lasts much longer, revisit the intended coverage and interval with the operator. If it changes quickly, check whether the test misses important stages. The arithmetic predicts duration for a defined set of images; it does not predict whether the resulting motion will communicate the process well.
Check the actual camera's interval behavior
Sony's α7 IV help guide describes interval shooting as a series of still images, with movie assembly afterward rather than an in-camera movie from that function. It defines Shooting Interval from one exposure start to the next. These details matter when turning a schedule into a capture plan; another camera or mode may behave differently.
The same manual warns that battery level, storage and heat can prevent the planned image count. Ask the operator to confirm suitable power, media capacity, operating conditions and the equipment's actual limits. Avoid treating an estimated battery runtime or an untested power connection as a guarantee that the sequence will finish.
Agree how focus, exposure and white balance will be handled through the expected conditions. Record the accepted settings and any deliberate automatic behavior. A room with changing daylight needs a different discussion from a controlled interior. Have the operator judge the actual test, including exposure timing relative to the selected interval.
Make a short sequence before committing to the full run
Capture a sample under representative conditions, assemble it and watch it at the intended playback rate. Look for visible camera movement, distracting changes in brightness or color, blocked views and motion that skips past the important action. Check the beginning and end as well as the middle.
For artificial lighting or visible displays, use the LED flicker testing guide as a starting point for a separate recorded check. Review the actual interval images too; a successful ordinary movie test does not establish that a different capture setup will behave the same way.
If the short test fails, change one part of the plan at a time and record the result. That might mean moving the frame, choosing a different activity window or testing another interval. If the transformation still cannot be understood, use another form of coverage rather than forcing the sequence into the film.
Keep a capture log and a recovery contact
Record the camera position, capture start, selected interval, intended image count, settings, media identifier and person responsible for checks. Note interruptions and any equipment movement. Agree who should be contacted if the scene changes or the camera must be moved; the crew should not have to infer whether finishing the sequence takes priority over venue operations.
For a capture spanning separate visits, document framing references and what can actually be repeated. Do not imply that a later angle is continuous coverage of an earlier one. Keep the resulting edit honest about gaps and changes. The crew-brief guide helps assign access, responsibilities and handoff requirements.
Send the editor a complete, ordered sequence
Preserve the originals and make the agreed verified copies before releasing media. Keep separate runs distinguishable and provide the log, capture order and intended playback rate. If files need renaming for an editing workflow, work on an agreed copy and preserve a way to identify the original files. The footage backup guide covers that handoff discipline.
Adobe documents importing a numbered still-image sequence as one clip, with each image becoming a frame. Its instructions call for consistent trailing filename digits and a chosen image-sequence frame rate. Have the receiving editor test a sample with the real files and software rather than assuming a folder of photographs is ready to drop into any timeline.
Review the assembled clip for continuity and suitability in the film, then confirm the approved output with the finished-video delivery checklist. Contact RackFocus Cinema to discuss a progress-coverage plan with the activity, location, access window and intended film.
Sources, inspiration and limits
Primary technical documents inspected November 11, 2026. The calculation and planning process are original editorial examples; no physical camera test or client project is represented. Confirm settings, safety and permissions for the actual equipment and location.
- Sony α7 IV Help Guide, section 137: Interval Shoot Func. — still-image capture, interval definition and battery, storage and heat limitations. This is a model-specific example.
- Adobe: Import images as an image sequence — frame interpretation, numbering and sequence timebase.
Editorial inspiration: Musicbed + Filmsupply's 2026 Commercial Filmmaking Trend Report, “Dynamic Timelapses,” page 25 as identified in a user-supplied condensed brief. The original PDF and page claim have not been independently reverified. This is a curated creative forecast, not statistical evidence of buyer demand, a capability claim or proof that a moving-camera setup is needed.