Audio & post-production / Practical recording guide
How to record useful room tone for a dialogue edit
Match the recording to the interview setup, label changes and check the saved file. A practical room-tone plan for producers and small crews.
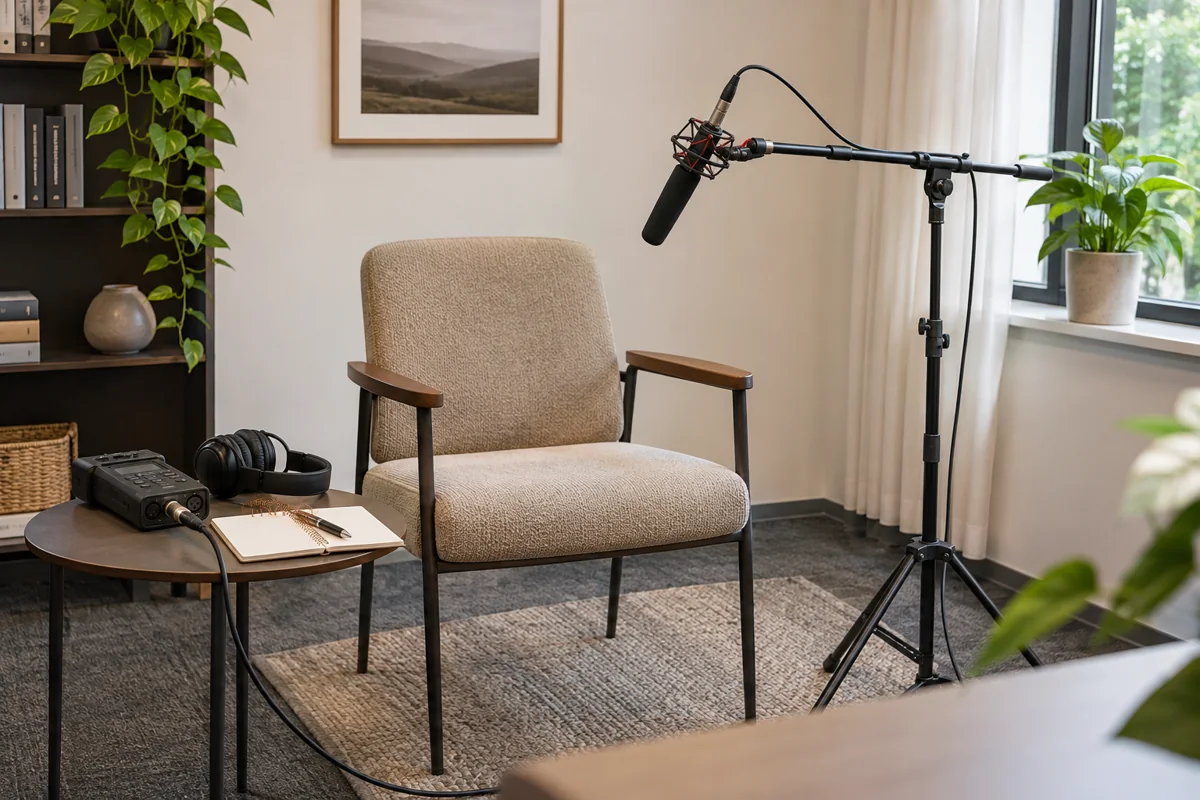
When an interview is shortened, the words are only part of the edit. The sound around them also needs attention. A useful room-tone recording gives the editor a reference and possible material for joining dialogue without making the background abruptly disappear.
This guide is for producers and small crews recording interviews on location. It offers a practical way to plan, label and review room tone. The checklist and example are editorial recommendations, not a physical equipment test, a universal sound-department procedure or a promise that a difficult recording can be repaired.
Agree what the editor needs
Room tone is the recorded atmosphere of a location without the intended speech. iZotope describes it as the recording environment's natural noise, shaped by the space and existing background sound. It is not the same as an empty digital track. RØDE explains that room tone and ambience can help fill gaps between dialogue or provide a consistent background.
Ask the receiving editor what materials and notes will help this project. A simple seated interview may need a different handoff from a scene with changing positions or several microphones. Identify the sound operator, recording tracks and person responsible for checking that the files arrive.
Keep the main priority clear: capture usable speech. If a refrigerator, corridor conversation or passing vehicle interrupts an important answer, tell the producer and consider another take while the speaker is available. A separate atmosphere recording should not become a reason to ignore an obvious problem in the dialogue.
Record against the actual interview setup
Before moving equipment or packing the room, identify which setup the recording should accompany. Note the microphone and position, recording channel, gain or processing arrangement and room conditions. Ask the sound operator to preserve the relevant setup while making the reference recording.
Keep a useful distinction between the sound recorded for dialogue and a wider ambience recorded for creative use. A microphone placed elsewhere in the room may be valuable, but label that recording honestly. Do not hand it over as an established match for the interview without checking it.
For a lavalier or another microphone attached to a participant, coordinate the capture before that equipment is removed, with the participant's agreement. For a supported boom, keep its intended position consistent through the reference. Let the sound operator decide the practical arrangement rather than asking an untrained person to copy a diagram or guess a distance.
The small-room interview planning guide helps coordinate the camera position with the rest of the setup. Include sound access in that layout so the reference can be captured without an unnecessary rearrangement.
Explain the quiet period before pressing record
Tell the people present what is happening and roughly how long you need them to remain still and quiet. Ask them to pause conversation, packing, chair movement and other avoidable activity. Make it a short scheduled part of the recording session rather than an unexplained request after everyone has started leaving.
iZotope's room-tone primer suggests recording 30 to 60 seconds of ambience. Use that as a starting point for discussion with the editor and operator, not a guarantee that a particular duration will be useful. What matters is obtaining an identifiable recording with a usable uninterrupted section.
Monitor while recording. If someone speaks, a phone sounds or a door closes, note the interruption and capture another section when practical. RØDE specifically warns that conversation or laughter can compromise a room-tone recording. Do not assume that a quiet-looking room has produced a suitable file.
Avoid changing room conditions just to make this reference seem cleaner. If the interview was recorded with a particular background condition, document that condition. If the team improves the room before continuing the interview, identify the later setup separately. The goal is an honest record of what belongs with each take.
Label changes instead of treating the whole day as one room
Make another clearly labeled reference when the production moves to a different room or makes a meaningful sound-setup change. Ask the operator which differences matter for this recording, and give the editor the information rather than deciding that two files are interchangeable because they share an address.
For a long interview, note changes during the session: a ventilation system starts, a door remains open or another activity begins nearby. A file recorded at wrap describes that moment. It does not automatically establish the background throughout every earlier answer.
Preserve the original dialogue recordings, including useful material around the spoken answers. Let the editor assess the available sources. A separate room-tone file is one contribution to the handoff, not a replacement for intact takes or a reason to remove all pauses before delivery.
A fictional interview sound log
Imagine an interview that begins in a closed meeting room, pauses when corridor activity increases and continues after the production agrees a revised setup. This is an illustrative log, not a real client recording or a demonstrated repair.
| Recorded item | Information to log | Question for review |
|---|---|---|
| Interview setup A | Take identifiers, microphone/channel and room condition | Which answers belong to this setup? |
| Room tone A | Exact filename, matching setup and any interruptions | Is there a usable uninterrupted section? |
| Interview setup B | What changed and which later takes it affects | Does the editor have the reason for the change? |
| Room tone B | Separate filename and its associated setup | Has the operator checked the actual saved recording? |
The producer keeps the capture window in the schedule. The operator identifies the files and notes limitations. The editor receives both sets and can decide what fits the edit. No one describes the second reference as proof that the first setup's interruption has been solved.
Listen to the saved file before releasing the setup
Ask the operator to play back enough of the actual recording to confirm that it exists, contains the intended channel and includes the expected room sound. Check for speech, handling noise and other conspicuous interruptions. A recorder showing a running counter is not the same as a checked saved file.
Record the file's limitations in plain language. “Door closes near the start; later section checked” is more useful than a blanket “clean” label. If there was no opportunity to capture a suitable reference, say so. Do not substitute an unrelated atmosphere and leave the editor to discover the mismatch.
For multiple microphones or a venue feed, agree how the tracks are identified. The panel-discussion audio guide covers recording roles, feeds and track planning in more detail. Avoid changing the agreed recording specification during room-tone capture without documenting it.
Deliver the recordings with their context
Keep the original audio, relevant camera recordings and sound log together in the agreed handoff structure. Use filenames or a manifest that links each reference to its setup and takes. Back up and check the copies before the recording media is released; the backup workflow explains that decision process.
Ask the editor to confirm receipt and flag missing or unclear material while the production notes are still easy to resolve. A short exchange about the actual files is more useful than an assumption that every delivery folder is self-explanatory.
When scoping a new interview, include quiet-room access, sound preparation, a short reference-capture window and the editor's handoff needs in the crew brief. Contact RackFocus Cinema to discuss your interview production with the location, schedule and intended film so those requirements can be considered before recording.
Sources and limits
Primary manufacturer articles inspected November 13, 2026. The workflow and fictional log are original planning recommendations. No audio examples were recorded or evaluated for this article, and no restoration software performance is claimed.
- iZotope: The Basics of Room Tone in Audio Editing — definition, editorial continuity and the suggested 30–60-second capture starting point. The article references older software; no version-specific software instructions are adopted here.
- RØDE: What Sound Can And Can't You Fix In Post? — room-tone uses and the limits imposed by unwanted background activity.